
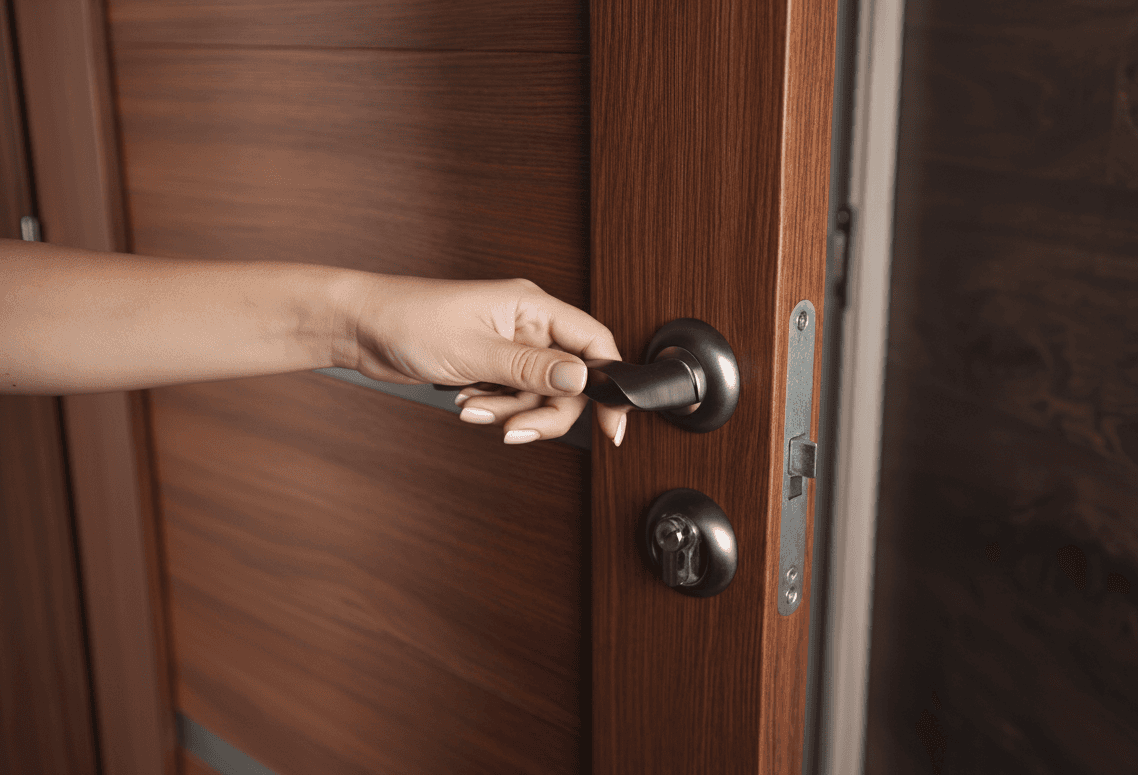
It’s one of those small home issues that gets annoying fast – a door that just won’t catch no matter how many times you try.
Most of the time, it’s not the door itself but one of four culprits: a misaligned latch, sagging hinges, a worn latch mechanism, or a shifted frame.
Here’s how to figure out what’s causing it and how to fix a door that won’t latch properly.
Key Notes
Lipstick test reveals exact misalignment; file the strike plate for minor adjustments.
Replace short hinge screws with 2-3 inch ones into studs to eliminate sag.
Clean and lubricate the latch with dry graphite; avoid oily sprays that attract dust.
Most fixes take 15-60 minutes; call pros for frame damage or security doors.
Safety & Tools
Safety Basics
Wear eye protection when chiseling or drilling.
Keep the work area lit and clear. Put small screws in a cup so they don’t disappear.
Take light passes with files or chisels. You can remove more. You can’t put wood back.
Tools You Will Actually Use
Phillips and flathead screwdrivers
Longer hinge/strike screws (2 to 3 inch) for anchoring into studs
Chisel and hammer
Wood filler or toothpicks + wood glue for stripped holes
Lubricant (dry lock lube or graphite). Avoid oily sprays that attract dust
Pliers, tape measure, pencil/marker or lipstick/chalk for alignment tests
Shims (cardboard or plastic), plane or sandpaper, utility knife, level
How To Diagnose Why Your Door Won’t Latch
Step 1: Test The Latch Mechanism
Door open: Operate the handle repeatedly. If the latch doesn’t retract fully or doesn’t spring back, it’s dirty, corroded, or the spring is tired.
Lubricate and test. If it improves, you’ve confirmed a sticking mechanism. If nothing changes, replacement may be easier than chasing ghosts.
Step 2: Confirm Strike Alignment
Close the door slowly. See where the latch touches first.
Do the lipstick/chalk test: Color the latch bolt, apply painter’s tape on the strike, close and reopen. The mark tells you exactly where you’re missing.
Step 3: Inspect Hinges and Door Movement
Check for loose or stripped screws. The top hinge carries most of the load.
Watch the reveal (gap) around the door as it closes. A widening gap near the top latch side or rubs along the head indicates sag.
Step 4: Check Door and Frame Condition
Look for swelling, warping, cracks, or frame shift. Inconsistent gaps, bowed edges, or fresh fissures near the jamb point to movement.
Decision Map:
Latch fails to move freely? Fix/replace latch.
Latch hits strike high/low/side? Adjust or move strike, and/or correct hinge sag.
Door sags or rubs? Tighten, re‑screw with longer screws, shim hinge, light planing if needed.
Frame shifted/damaged? Secure and true the jamb, then realign hardware.
Fixes By Cause: The Exact Steps
Cause A: Misaligned Latch and Strike Plate
1. Micro‑adjust With A File (Offset About 1/8 Inch Or Less)
Remove the strike plate.
Use a metal file to open the latch hole toward the direction you need.
Deburr, reinstall the plate, and test. A tiny change makes a big difference.
2. Reposition The Strike Plate (Larger Misalignment)
Do the lipstick test to mark where the latch wants to land.
Remove the strike plate. Fill old screw holes with wood filler or toothpicks + wood glue.
Trace the strike in its new spot. Lightly score the outline with a knife.
Chisel the mortise a little at a time so the plate sits flush.
Drill pilot holes. Install with longer screws into the stud for a firmer bite.
Test and fine‑file the opening if needed for smooth entry.
3. Use An Adjustable Strike Plate
If you’re within a few millimeters, an adjustable strike lets you tune alignment without carving the jamb. Great for minor seasonal shifts.
Cause B: Loose Or Failing Hinges Causing Door Sag
1. Tighten Hinge Screws
Start with the top hinge. If screws spin, the hole is stripped.
2. Replace Short/Stripped Screws
Use 2 to 3 inch #9 or #10 screws through hinge holes into the framing. This pulls the door back toward square.
3. Shim The Top Hinge
Remove top hinge screws on the jamb side. Insert a thin cardboard or plastic shim behind the leaf, then re‑screw. This lifts the latch side.
4. Realign and Retighten While Supporting The Door
Slightly loosen, lift the door into position, and retighten. A helper here is nice.
5. Light Planing If There’s Still Rubbing
Mark the rub, take the door down, plane or sand very lightly, seal the fresh edge, rehang, and test. Don’t skip sealing or the edge may swell later.
Cause C: Sticky, Dirty, or Worn Latch Mechanism
1. Clean and Lube
Wipe grime from the latch face and the strike. Use a dry lock lubricant or graphite in the latch. Avoid oily sprays that attract dust.
2. Inspect The Latch
Remove the handles/knob. Slide the latch out from the door edge. If the spring is weak, the tongue chewed up, or it binds even clean, replacement beats tinkering.
3. Replace The Latch Correctly
Measure the backset (usually 2‑3/8 or 2‑3/4 inches) from door edge to the center of the knob hole.
Insert the new latch with the curved side facing the strike.
Reinstall the handle/knob and test before final tightening.
Cause D: Door Swelling or Warping from Humidity
1. Confirm The Sticky Spots And Retest After Hinge Tightening
Don’t start planing until you’ve eliminated hinge sag.
2. Shim or Adjust To Restore Even Reveals
Small shifts at the hinges can correct a surprising amount of seasonal swell.
3. Plane or Sand Gradually
Take thin passes on the binding edge. Test often. Over‑removal is permanent.
4. Seal Exposed Wood
Prime or seal planed edges to slow future moisture uptake. Recheck strike alignment afterward.
5. Control Humidity
Dehumidifiers, better bathroom/kitchen ventilation, and sealing exterior drafts prevent repeat swelling.
Cause E: Shifted or Damaged Frame
1. Spot The Signs
Gaps that won’t adjust away, cracked caulk or plaster near the jamb, or a jamb that flexes when pushed.
2. Open Up The Work Area
Carefully remove door stops and, if needed, casing to access the jamb.
3. True and Secure the Jamb
Use a straightedge/level. Gently tap the jamb back into plane with a block and mallet. Drive long screws through the jamb into studs.
4. Repair and Fill
Fill splits and leftover voids with wood filler or structural epoxy where appropriate. Reinstall stops once alignment is locked in.
5. Finish Hardware Alignment
With the jamb true, set hinge screws, then align or move the strike. If sections are rotted, replace those pieces rather than burying the problem.
Special Cases You Should Know
Interior vs Exterior Doors
Interior: Simpler tubular latches. Most fixes are hinge tightening, strike tweaks, and occasional latch swaps.
Exterior: Heavier slabs and reinforced strikes. You may be aligning a latch and a deadbolt together. Weather and humidity complicate things. Security matters, so be precise.
Older Homes vs Newer Homes
Older: Rim or mortise locks, solid wood doors, frames that have shifted over the years. Parts may be non‑standard, so repair can beat replacement.
Newer: Pre‑hung units with standardized hardware. Misalignment is usually small and corrects with screws, shims, or a modest strike move.
Different Materials
Solid wood: Easiest to tune but sensitive to moisture. Seal fresh cuts.
Fiberglass/metal: Limited filing at the strike. For the slab itself, avoid aggressive planing. Work with hardware and frame alignment first.
Fast Fixes Without Tools (Temporary)
Lift the door slightly at the handle while closing so the latch finds the hole.
Clear debris from the strike opening and latch face.
Press or gently tap the strike plate a hair in the needed direction.
It’s a band‑aid, not a repair. These can help in a pinch. If the problem comes back, do the proper adjustment.
Product Guidance That Helps
Adjustable Strike Plates: Great for minor offsets without chiseling the jamb.
Reinforced Strike Kits + Long Screws: Improve engagement and durability, especially on exterior doors. Those long screws anchor into the framing and keep alignment stable.
Replacement Tubular Latches: When stickiness persists even after cleaning. Match the backset and faceplate shape.
Mistakes To Avoid
Over‑filing or Over‑chiseling: Remove tiny amounts and test often.
Using Oily Sprays on Latches: Dust magnet. Prefer dry lock lubes or graphite.
Ignoring Hinges and Frame: Fixing the strike alone rarely lasts if the door is sagging.
Buying the Wrong Parts: Measure backset and check your strike and latch faceplate style before you shop.
Skipping Pilot Holes: Split wood and sloppy screws cause future misalignment.
How Long It Takes & What It Usually Costs
DIY:
Tighten hinges, swap to longer screws, quick lube: 15–30 minutes.
File or adjust the strike: 20–45 minutes.
Reposition the strike with a new mortise: 30–60 minutes.
Replace a tubular latch: 20–40 minutes.
Light planing and sealing: 45–90 minutes including dry time.
Materials:
Screws, filler, shims, dry lube, and a replacement tubular latch are typically low-cost. Reinforced strike kits cost more but add real durability, especially outside.
Your mileage will vary based on how far out of alignment things are and whether the frame needs love.
When To Call a Pro
The door still won’t latch after you’ve tightened the hinges and tuned the strike.
You see cracks, loose jambs, or signs that the frame has shifted.
It’s an exterior door where security is non‑negotiable, or you’re dealing with a complex deadbolt/smart lock setup.
The fix requires more chiseling or planing than you’re comfortable with, or you don’t have the tools.
Preventive Maintenance Checklist
Quarterly: Tighten hinge and strike screws, especially after big temperature or humidity swings.
Annually: Clean latch faces and apply a dry lock lubricant.
After Rainy Seasons: Check reveals and latching on exterior doors. Small seasonal tweaks beat big future fixes.
Control humidity indoors. Seal any raw edges from earlier planing.
Frequently Asked Questions
Can weather changes make my door stop latching seasonally?
Yes. Temperature and humidity cause wood to expand or contract, slightly changing alignment. Tighten hinges and check strike alignment after major weather shifts to keep things consistent year-round.
Is it better to replace the whole door if it won’t latch?
Not usually. Most latching problems come from alignment or hardware issues, not the door itself. Replacing the slab is only necessary if the door is severely warped, cracked, or structurally damaged.
How can I tell if my door frame is beyond a simple repair?
If the frame feels loose, moves when pushed, or has visible rot or cracks where screws no longer hold, it’s likely past quick fixes. A carpenter can reinforce or replace the affected jamb section.
Should I lubricate my latch regularly to prevent problems?
A light application of dry lubricant once or twice a year keeps the latch working smoothly. Avoid overdoing it – too much buildup attracts dust and eventually causes the same sticking you were trying to prevent.
Need Help Getting That Door To Finally Latch?
Let’s take a quick look and fix it right.
Conclusion
Most doors that won’t latch aren’t broken; they’re just a little out of sync.
The fix usually comes down to a few practical steps: tighten sagging hinges, align the strike plate so the latch hits clean, clear out grime or rust inside the latch, and check for swelling or frame shift that throws everything off.
With the right tools and patience, most homeowners can restore that smooth, satisfying click when the door shuts.
If you’d rather skip the trial and error, book an appointment with HandymanCo. We’ll inspect the door, realign what’s needed, and make sure it closes properly – for good.


RemodelCo is the go-to remodeler in Salt Lake City for everything from basement finishes, kitchen remodels, bathroom remodels to small repairs. Reliable, responsive, and built on quality craftsmanship.
Join our team
Get A Free Quote
9480 S Union Square, Suite 203, Sandy, UT 84070
Services
Interior Services
Exterior Services
Real Estate Pros
Consulting
© Copyright
RemodelCo LLC All Rights Reserved.