
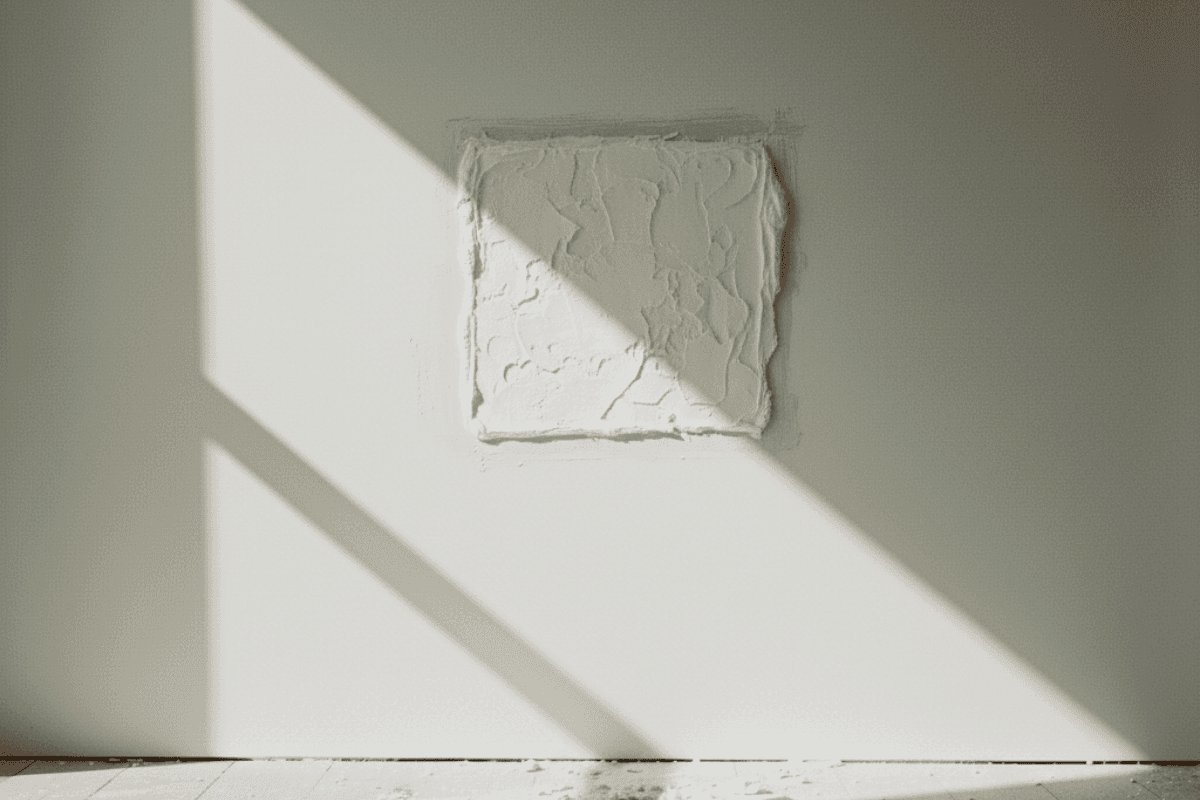
Patching drywall is relatively straightforward: cut clean edges, apply your patch, build thin coats of compound, sand smooth, and prime before painting.
But here’s where most people go wrong – they over-mud the first coat, skip primer, or forget to feather wide enough, leaving visible seams or uneven texture that shows through paint.
We’ll walk you through how to patch drywall the right way, with pro tips, photos, and tool lists for every hole size.
Key Notes
Small holes need spackle; medium holes use mesh patches; large holes require backing/new drywall.
Apply multiple thin coats instead of one thick coat to prevent cracking.
Feather each coat wider than the last for invisible seams and smooth transitions.
Let compound dry fully (24 hours for premixed) and sand with 150–220 grit before painting.
Safety, Prep & Tools You’ll Need
PPE:
ANSI Z87.1 glasses or goggles
N95 or P100 dust mask or respirator
Hearing protection when using power tools
Gloves if you prefer
Essentials:
Utility knife and extra blades
Putty knives: 2–3 inch and 6–10 inch
Joint compound or lightweight spackle
Self‑adhesive mesh patch or drywall tape
Sanding sponge or 100 to 220 grit sandpaper
Primer and touch‑up paint
For Bigger Holes:
Drywall scrap, 1x backing strips, drywall screws, drill or driver
Decide The Method: Size, Location, Cause
Small: Pinholes to 1/2 inch. Spackle is best.
Medium: 1/2 to 6 inches. Mesh patch or California patch. Two or more coats.
Large: Over 6 inches. Backing, cut‑in drywall, tape, and compound.
Special cases: Cracks, screw pops, ceiling repairs, moisture damage, post‑electrical cutouts.
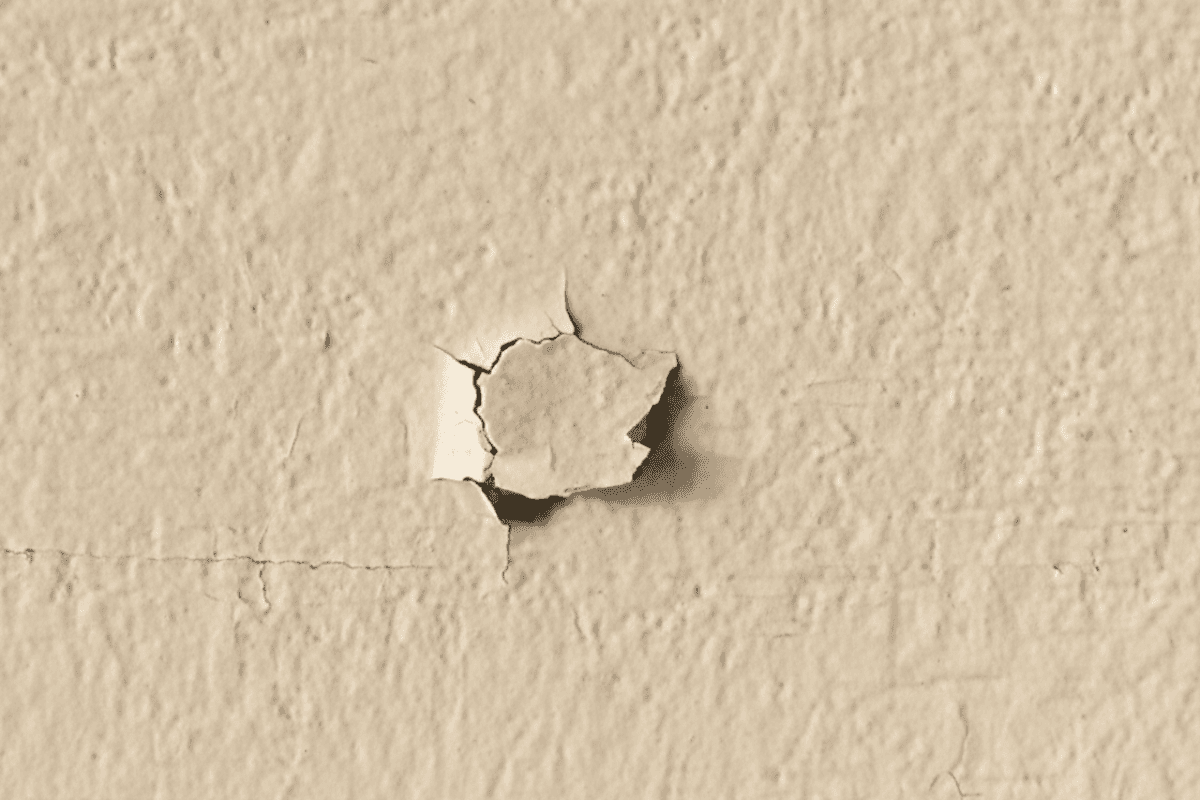
Small Holes and Dings
Best for nail holes, pins, corner bumps and tiny dents.
Steps:
Remove any anchor or nail. Lightly scrape loose paint.
Press a pea of lightweight spackle into the hole with a 2–3 inch knife or fingertip.
Smooth flush. Wipe excess.
Dry per label. Often 30 to 60 minutes.
Sand lightly with 150 to 220 grit until smooth.
Spot prime if the area is glossy or you see flashing. Touch up with matching paint.
Why Spackle Here?
It dries fast, shrinks less, and sands easily. Joint compound is overkill for tiny holes.
Hairline & Stress Cracks That Don’t Come Back
Cracks return because the joint moves. The fix is reinforcement plus thin coats.

Steps:
Widen the crack to a shallow groove with a utility knife.
Clean out dust.
Fill with flexible filler or joint compound.
Embed fiberglass mesh tape over the crack while the first layer is wet.
Apply a thin coat over the tape. Feather edges.
Dry fully. Sand lightly with 150-grit.
Apply a second thin coat wider than the first. Dry and sand.
Prime, then paint.
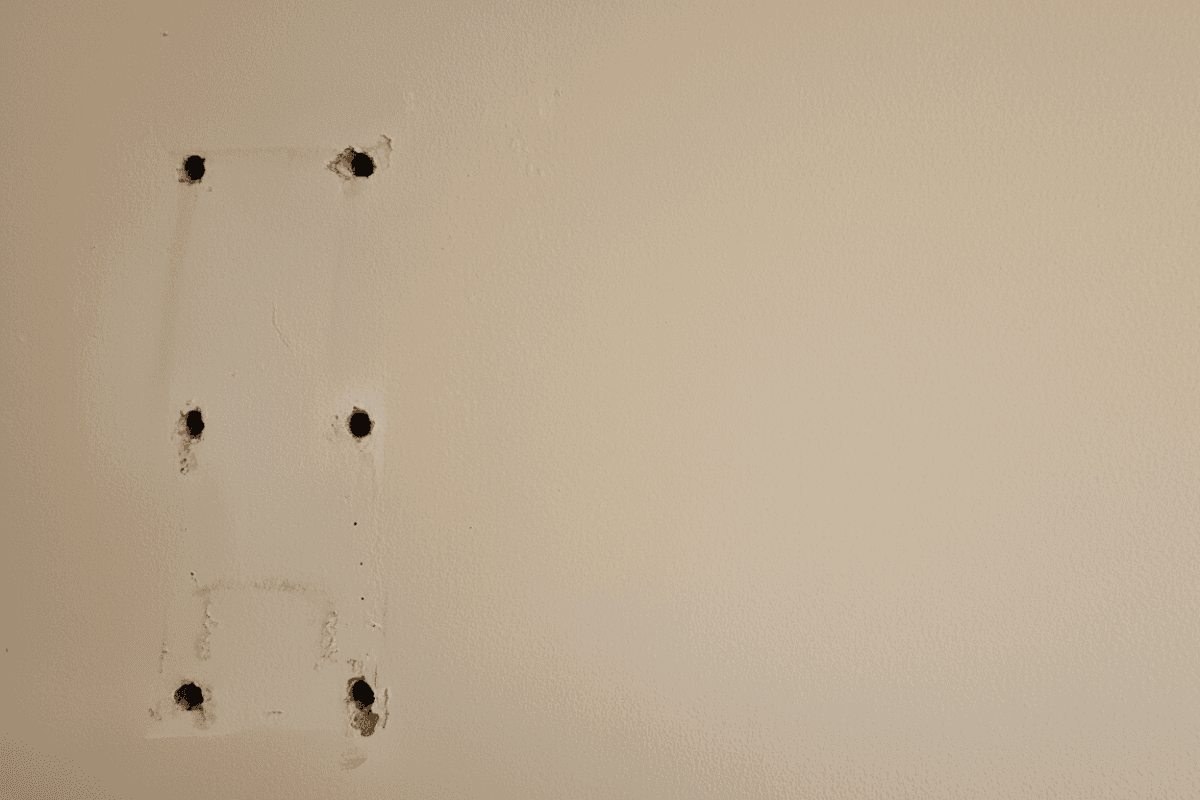
Screw Pops & Lifted Fasteners
Fix It Right:
Try tightening the existing screw a quarter turn. If it spins or tears paper, remove it.
Drive a new drywall screw 1 to 2 inches above or below, just below the surface, without tearing paper.
Trim any blown paper.
Skim a thin coat of compound. Dry, sand, then add a second coat if needed.
Prime and paint.
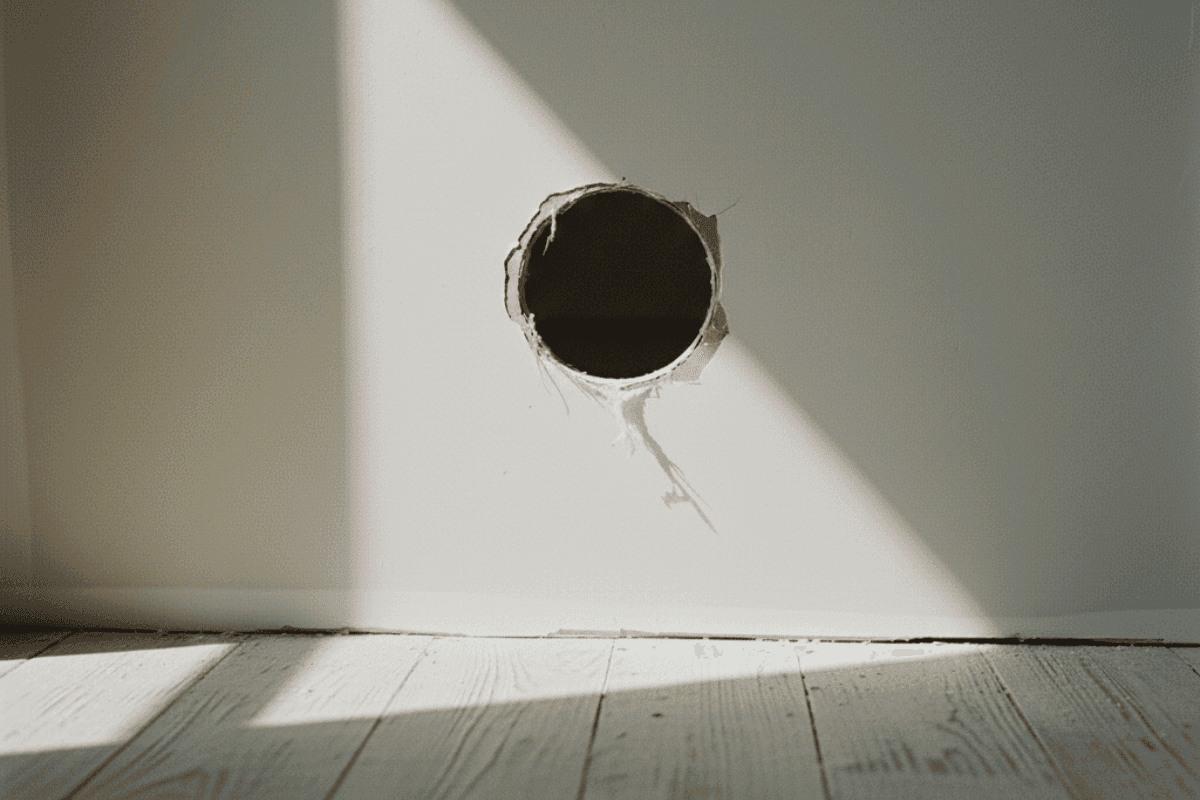
Medium Holes Up To 6 Inches: 7 Steps With Pictures
You have two good options:
Mesh patch is fast.
California patch lays flatter.
We will show the mesh patch method since it is beginner‑friendly.
You Will Need:
self‑adhesive mesh patch
joint compound
6–10 inch knife
sanding sponge
primer
paint
Steps:
1. Square the hole. Cut clean edges with a utility knife or drywall saw.

2. Clean dust and loose paper. Dry surface only.
3. Apply the mesh patch centered over the hole. Press firmly.
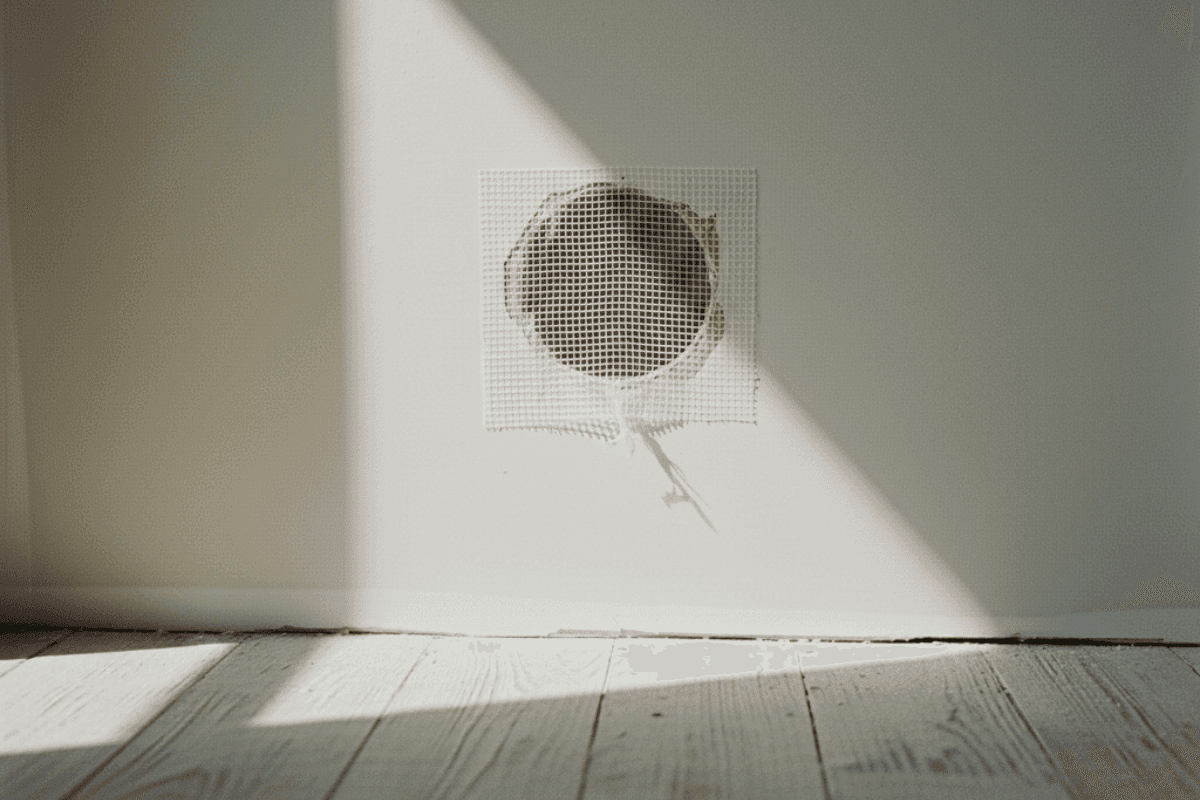
4. First coat. Spread joint compound to cover the mesh and extend 2 to 3 inches past the edges. Keep it thin and even.
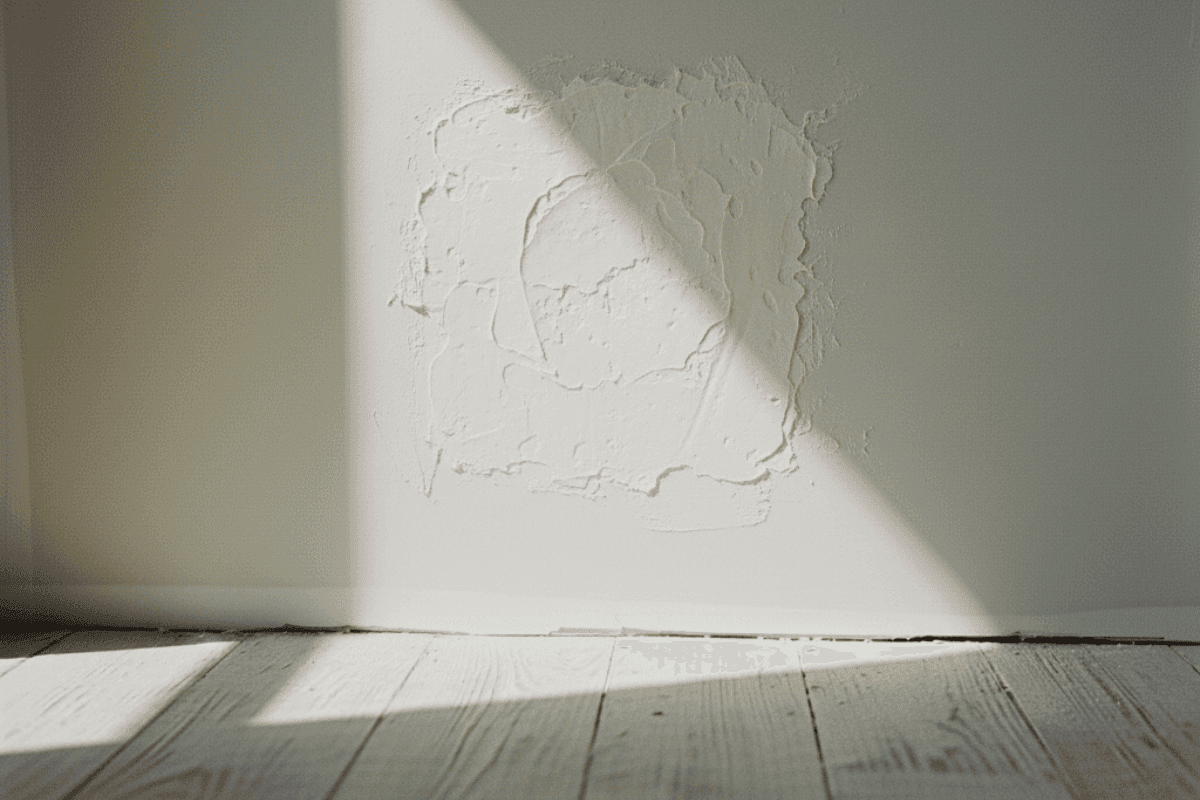
5. Second coat after full dry. Feather wider, about 4 to 6 inches past the patch. Knock down ridges before you coat.
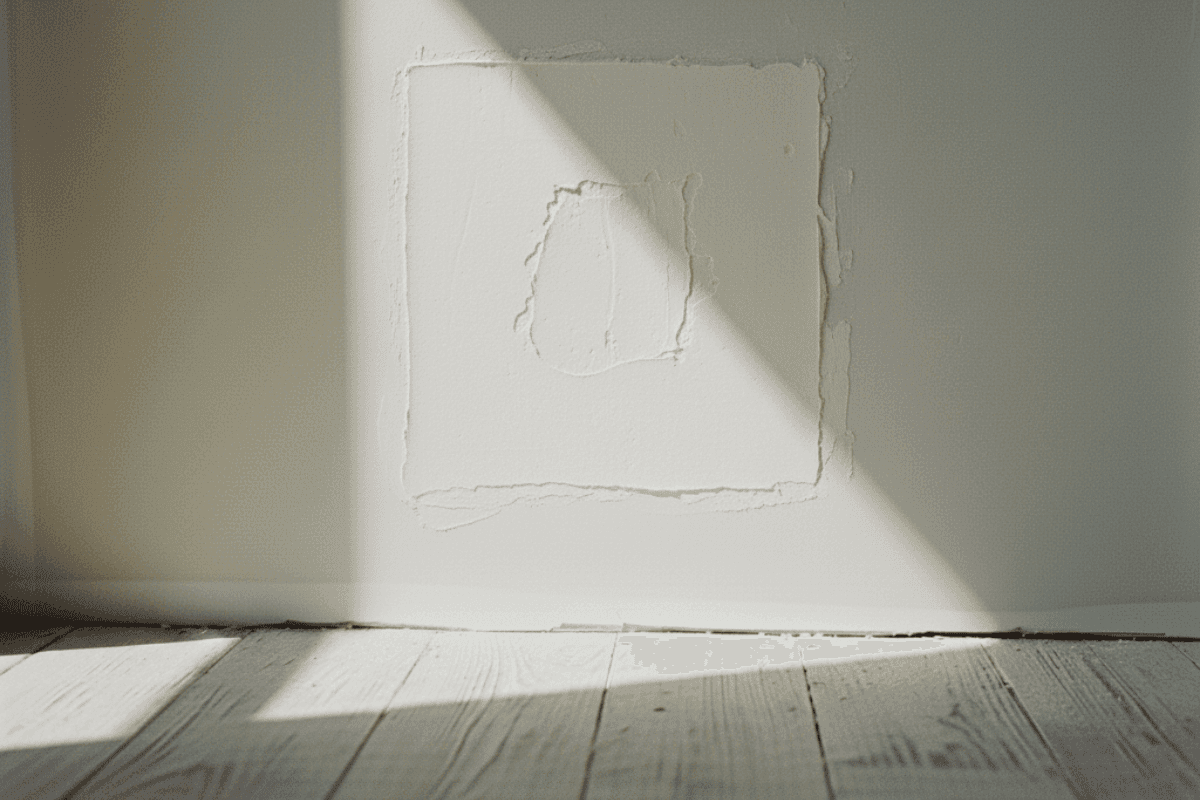
6. Final skim if needed for perfection. Let dry.
7. Sand, prime, paint. Sand with 150 to 220 grit until smooth. Prime to prevent flashing. Paint to match.
California Patch Alternative:
Cut a drywall piece slightly larger than the hole. Peel gypsum from the back edges, leaving a 1-inch paper border. Butter the back with compound, press in, then skim.
It delivers a flatter finish with paper‑to‑paper bonding.
Doorknob‑Size Holes With Backing
This is the sweet spot where quick mesh sometimes feels spongy. Add backing for a solid repair.
Steps:
Cut a square or rectangle around the damage.
Insert a 1x backing strip inside the cavity. Hold it with one hand and drive two screws through the existing drywall to pin it in place.
Cut a drywall patch to fit the opening and screw it to the backing.
Apply fiberglass mesh tape over seams.
Build two to three thin coats of joint compound, feathering wider each time.
Sand, prime, paint.
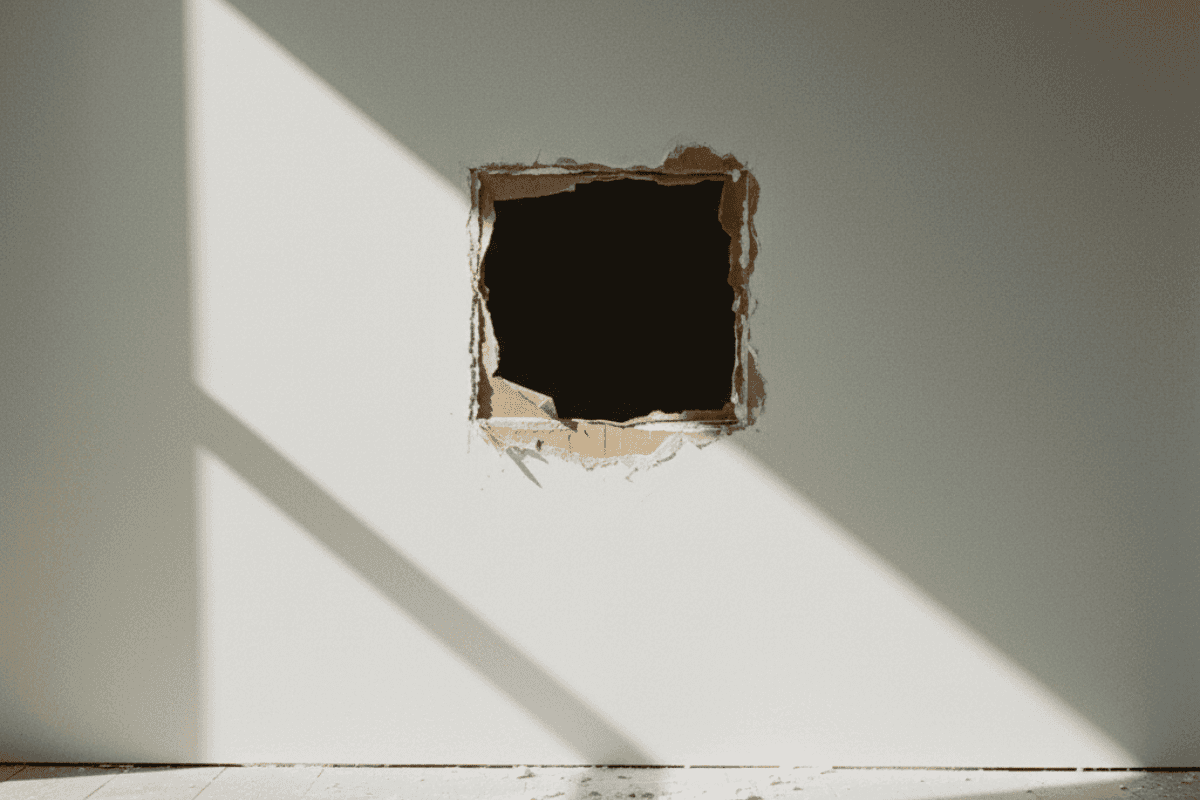
Large Holes Over 6 Inches
If the hole begins to span studs or the damage is widespread, the right move is a structured patch or even a panel replacement.
Steps:
1. Square the opening with a saw. Find studs where possible.
2. Add backing strips on all free edges or patch directly to studs.
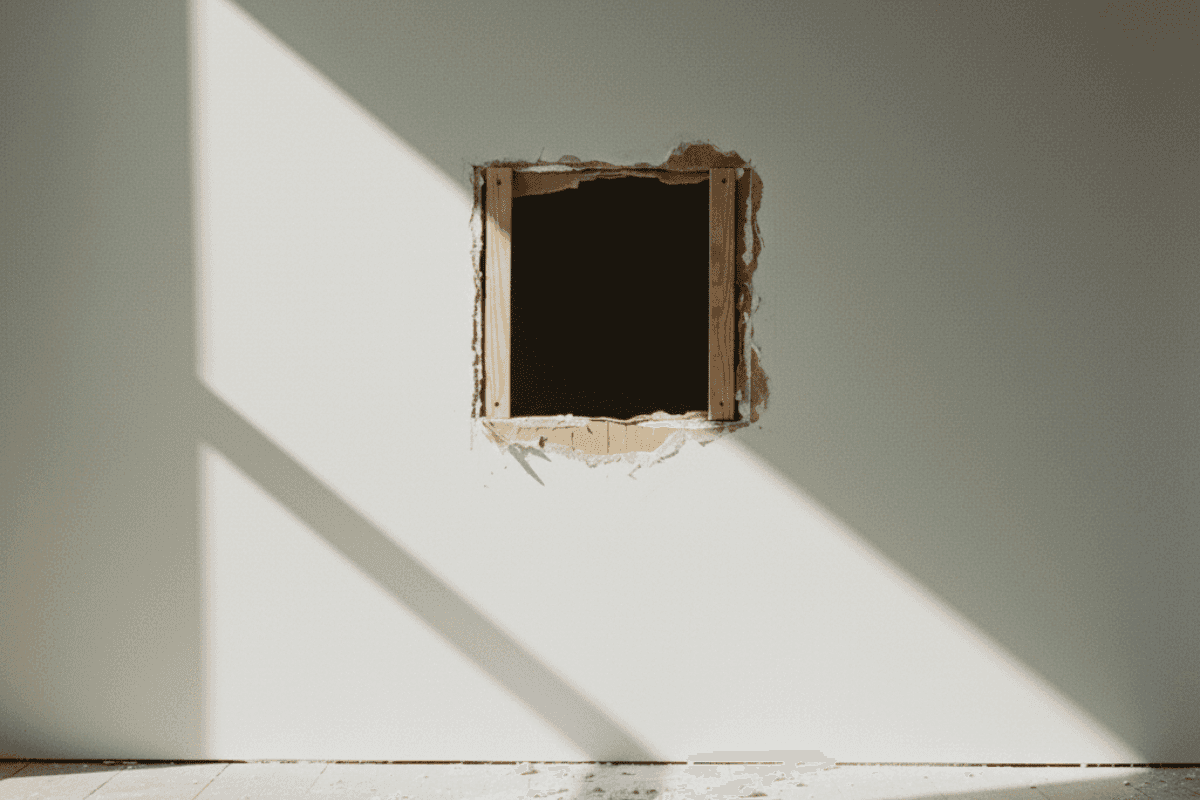
3. Fit and screw a drywall patch flush to the surface.
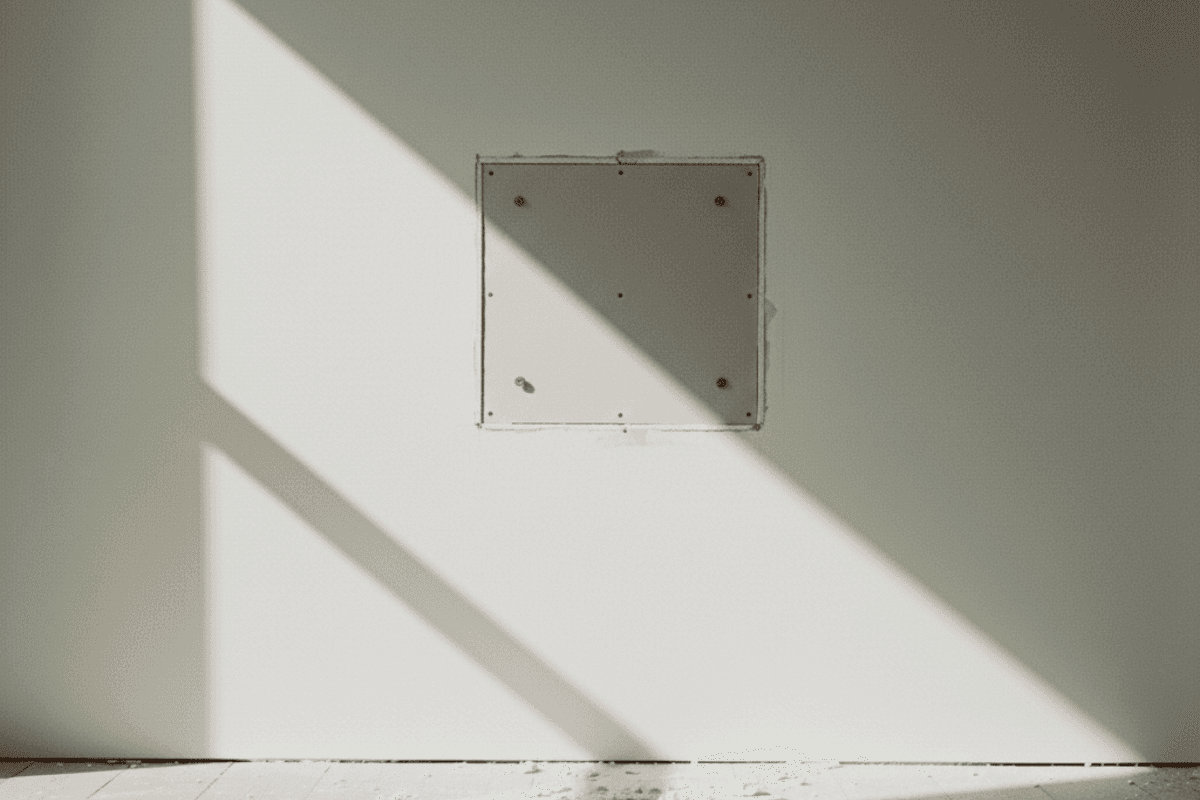
4. Tape seams with mesh or paper tape.
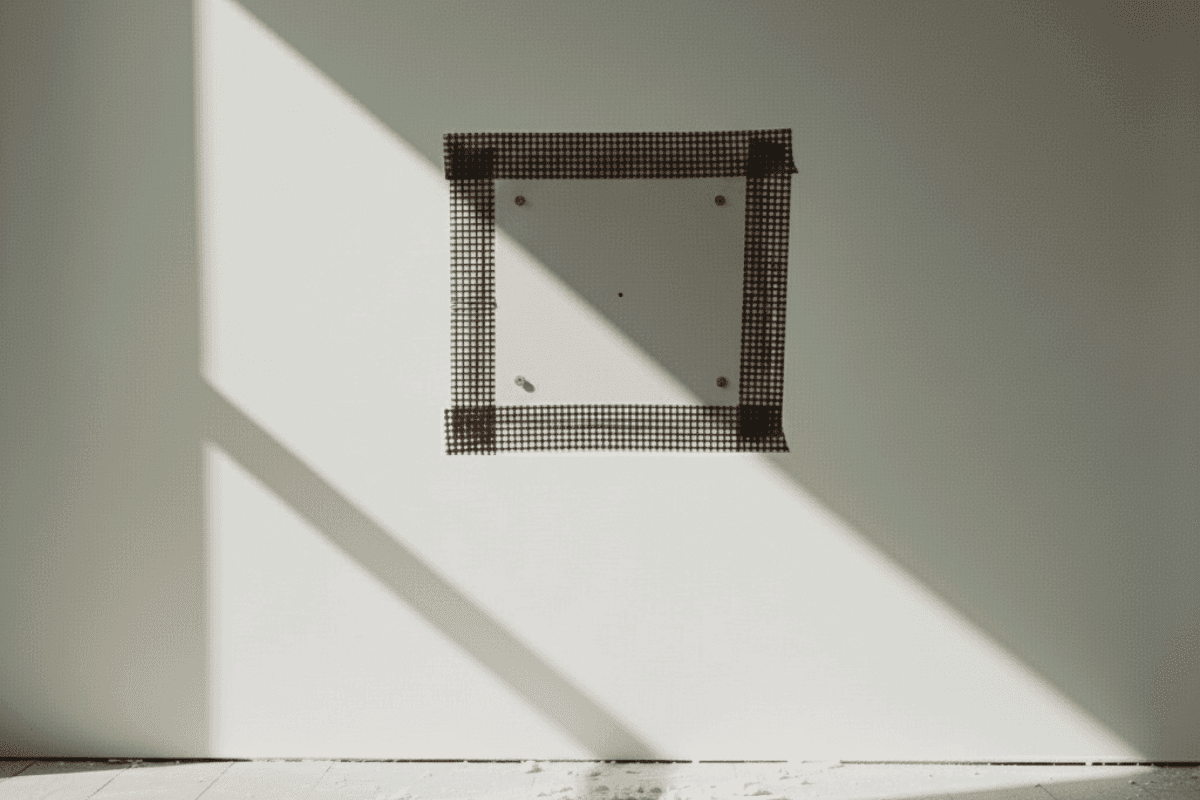
5. First coat to cover tape only. Let dry.
6. Second and third coats feathered 8 to 12 inches beyond the seams for invisibility.
7. Sand, prime, paint.
When To Replace A Full Panel?
Multiple large holes, long cracks, water or mold damage, or repairs so wide that blending would telegraph through paint.
After Electrical Work & Cutouts
Power off while working near boxes.
Clean edges. Add backing if there is no stud to catch the screws.
Patch to thickness, tape the perimeter, build thin coats, sand, prime, paint.
Moisture & Leak Repairs
You cannot save wet gypsum. Do it once, do it right.
Fix the source first. Roof, plumbing, window sealing.
Remove all wet, swollen, or moldy drywall and insulation.
Dry out the cavity with airflow and dehumidification. A moisture meter helps.
Treat framing with a sanitizer or mold inhibitor.
Replace insulation as required. Install new drywall to the studs.
Tape and mud, then sand, prime with a stain‑blocking primer, and paint.
Ceilings vs Walls
Gravity needs respect. Support patches with backing to prevent sag.
Match the thickness to the existing panel. Many ceilings use 1/2 inch or specialty sag‑resistant boards.
Texture is often the giveaway. Orange peel or knockdown needs careful blending. Popcorn requires matched texture products.
Mud, Spackle, or Setting Compound?
Spackle: Best for small holes and dents. Fast dry, minimal sanding.
Joint Compound: The standard for seams and medium to large repairs. Builds thin, sands clean.
Setting‑type Compound (Hot Mud): Powder that sets in 20 to 90 minutes. Great for same‑day multi‑coat progress. Harder to sand, so keep coats thin.
Which To Choose?
Small and Quick: Spackle.
Medium and Finish Quality: Joint compound.
Need speed? A first coat of setting mud, then finish with premixed compound.
Getting The Perfect Finish: Consistency, Coats, Sanding, Texture
Consistency: Mix to a thick yogurt. If it drags, add a little water and mix smooth.
Coats: Many thin coats are better than one thick coat. Thick coats crack and take forever to sand.
Feather Wide: Each coat goes wider. Use a wider knife as you go.
Sanding Grits: 100–150 between coats to knock high spots, 150–220 for the final pass.
Texture Matching:
Orange Peel: Thinned compound sprayed or rolled and knocked down lightly.
Knockdown: Let the sprayed texture set for 10 to 15 minutes, then flatten peaks with a wide knife.
Smooth Wall: Skim coat and patient sanding.
Popcorn or Stipple: Use a matched texture product and feather edges.
A common mistake we see is over‑applying the first coat. Keep it thin to reduce sanding, ridges, and future hairlines.
Drying Times, Priming, Paint‑Ready Checks
Between Coats: Premixed compound usually needs about 24 hours. The setting mud is ready according to its rated minutes.
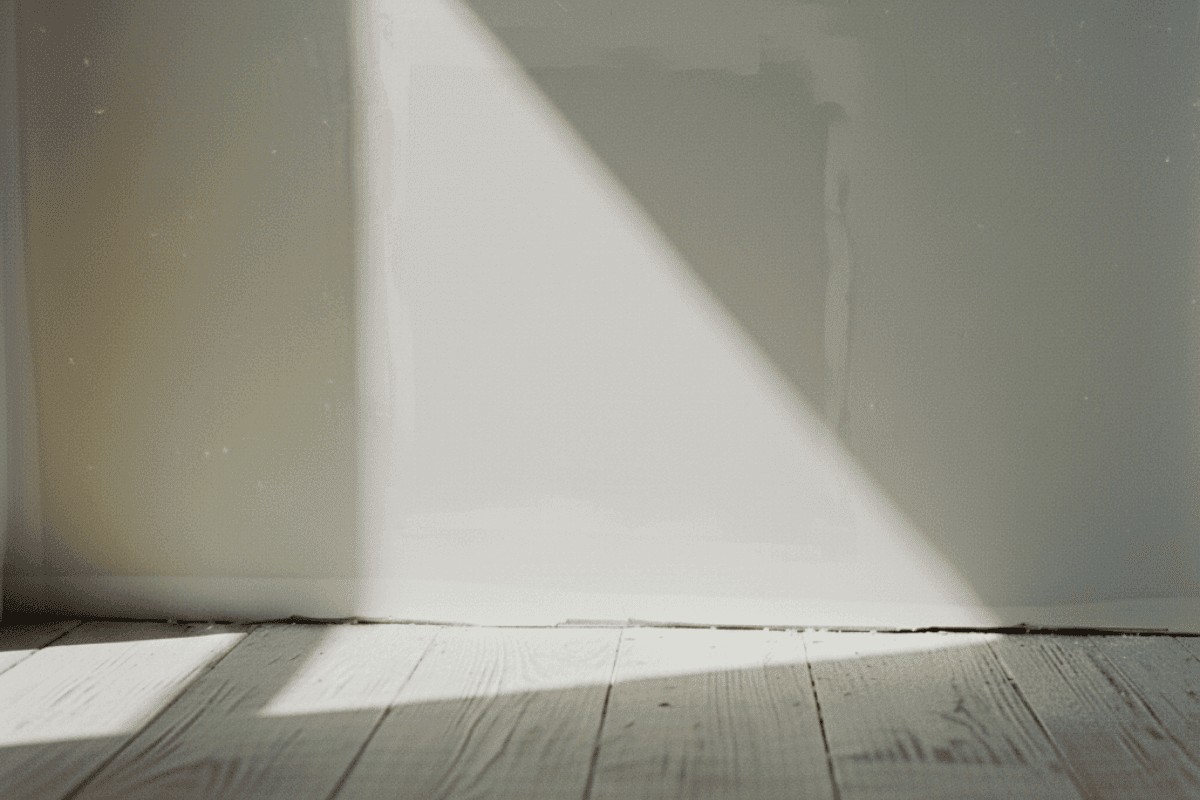
Before Sanding: Only sand when the surface turns from dark to a uniform light tone and feels dry to the touch.
Before Paint: Always prime patches. Primer locks down dust, evens porosity, and stops flashing.
Troubleshooting Guide
Ridge Lines or Trowel Marks: Lightly scrape before sanding, then skim a thin coat.
Flashing Under Paint: You skipped primer. Spot prime and repaint.
Visible Seam Halo: Feather wider with another thin coat and sand to a soft transition.
Hairline Returns: Reopen, add mesh tape, build thin coats.
Spongy Patch: No backing. Add a backer and redo the patch solidly.
When To Call A Pro Instead Of DIY?
Holes larger than a foot, multiple areas, or any ceiling section with sag.
Water damage, mold history, or texture you cannot replicate.
Tight timelines where you need an invisible finish quickly.
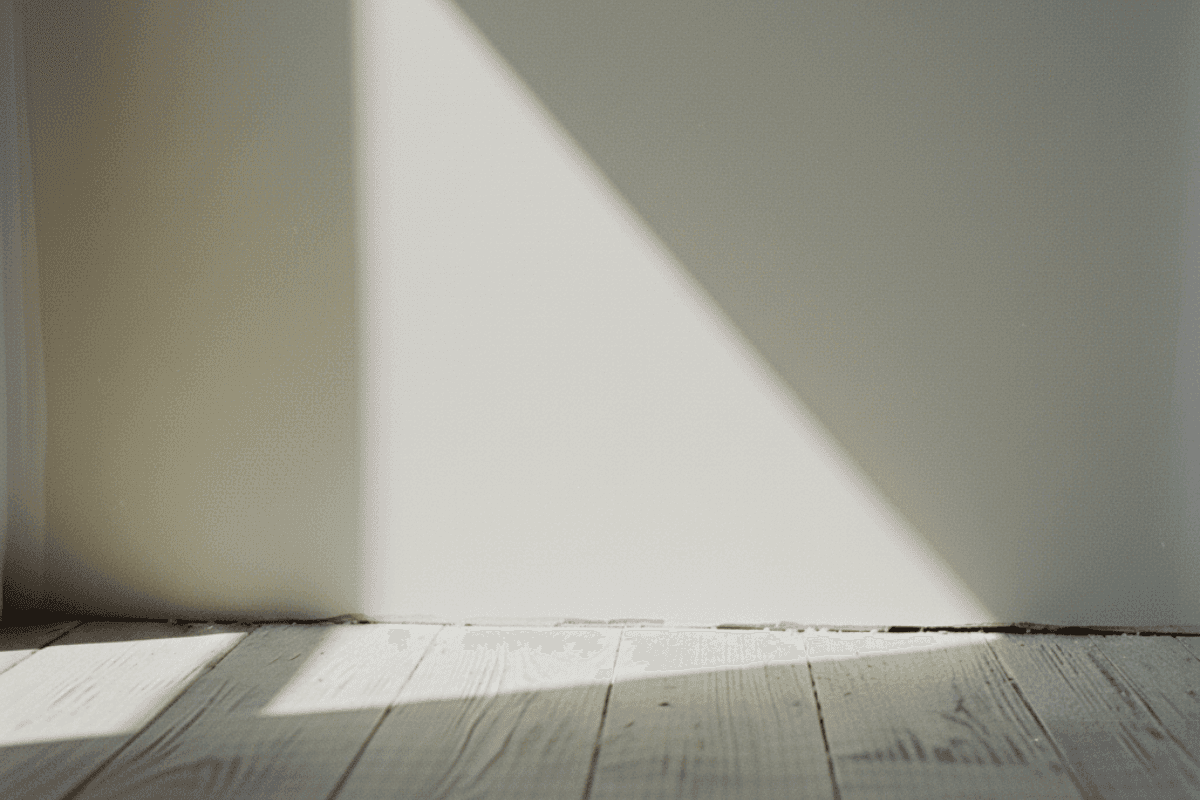
Pros bring speed, clean containment, and a seamless finish that is tough to spot even in bright light.
Frequently Asked Questions
Do I need to prime drywall before applying joint compound?
No, primer comes after. Apply joint compound directly to clean, dry drywall, then sand smooth. Always prime after repairs to seal the surface before painting.
Can I patch drywall in humid or cold conditions?
You can, but drying will take much longer. Keep the room above 55°F and use fans or a dehumidifier for even drying and to prevent cracking.
What grit sandpaper is best for sanding drywall patches?
Use 100–150 grit between coats to knock down ridges, and 180–220 grit for the final sanding before priming or painting.
Why does my drywall patch still show after painting?
Usually because the patch wasn’t primed or feathered wide enough. Prime with a stain-blocking primer and apply one more thin, wide coat of mud to blend the edges before repainting.
Why Buy Tools You’ll Only Use Once?
We’ll handle your drywall patch start to finish: fast, clean & done right.
Conclusion
Knowing how to patch drywall starts simple: cut clean edges, apply your patch, build thin coats of joint compound, sand smooth, and prime before painting.
In theory, that’s all it takes to make a repair disappear. But in practice, it’s easy to end up with uneven seams, flashing under paint, or a soft patch that cracks a few months later. Getting the texture, feathering, and finish right takes a steady hand and a bit of experience.
If you’d rather skip the trial and error, get a free online quote. We’ll repair your wall so it’s sturdy, smooth, and ready for paint – fast, clean, and done right the first time.


RemodelCo is the go-to remodeler in Salt Lake City for everything from basement finishes, kitchen remodels, bathroom remodels to small repairs. Reliable, responsive, and built on quality craftsmanship.
Join our team
Get A Free Quote
9480 S Union Square, Suite 203, Sandy, UT 84070
Services
Interior Services
Exterior Services
Real Estate Pros
Consulting
© Copyright
RemodelCo LLC All Rights Reserved.