
Uneven flooring can tell you a lot about what’s happening beneath your home – sometimes it’s a sign of moisture creeping in, other times it’s tired joists or a subfloor that’s seen better days.
The trick is knowing when it’s a simple fix and when it’s something structural.
We’ll break down the causes, warning signs, and reliable ways to level your floors before small issues turn into expensive ones.
Key Notes
Uneven flooring often starts with moisture, settling, or weakened joists beneath the surface.
Minor dips can often be repaired, but sagging or soft spots usually signal structural damage.
Each flooring type needs a different fix – what works for laminate won’t work for tile.
DIY Checks To Tell Cosmetic From Structural
Before attempting to fix uneven flooring, it's helpful to get a sense of what you’re dealing with. These quick checks can help you tell whether uneven flooring is just a surface issue or a sign of something more serious underneath.
1. Check for Slopes and Dips
Grab a long level or straight edge and run it across the floor. Look for gaps underneath or spots where it rocks.
You can also drop a marble or small ball in different areas – if it rolls quickly or always heads in the same direction, you likely have a slope rather than a small surface bump.
2. Test Doors and Windows Nearby
Open and close nearby doors and windows. If they suddenly stick, scrape, or look uneven in their frames, the structure below may be shifting.
That usually points to a deeper subfloor or framing issue.
3. Feel for Soft or Spongy Spots
Walk slowly across the floor in socks. A firm floor should feel solid throughout – if it feels bouncy, soft, or hollow, the subfloor or joists underneath may be weakened.
4. Inspect the Area Below (If You Can)
If your home has a crawl space or basement, take a flashlight and look up at the underside of the flooring. Watch for sagging joists, water stains, rot, or damp insulation.
These are early warnings that the issue runs deeper than just uneven boards.
If It Looks Serious, Pause Here
If you find anything that looks structural – or if you’re unsure – stop here and call a licensed professional before attempting any leveling yourself.
Fixes By Flooring Type
Different flooring materials behave differently. Pick the wrong fix and you can lock a cosmetic problem on top of a structural one.
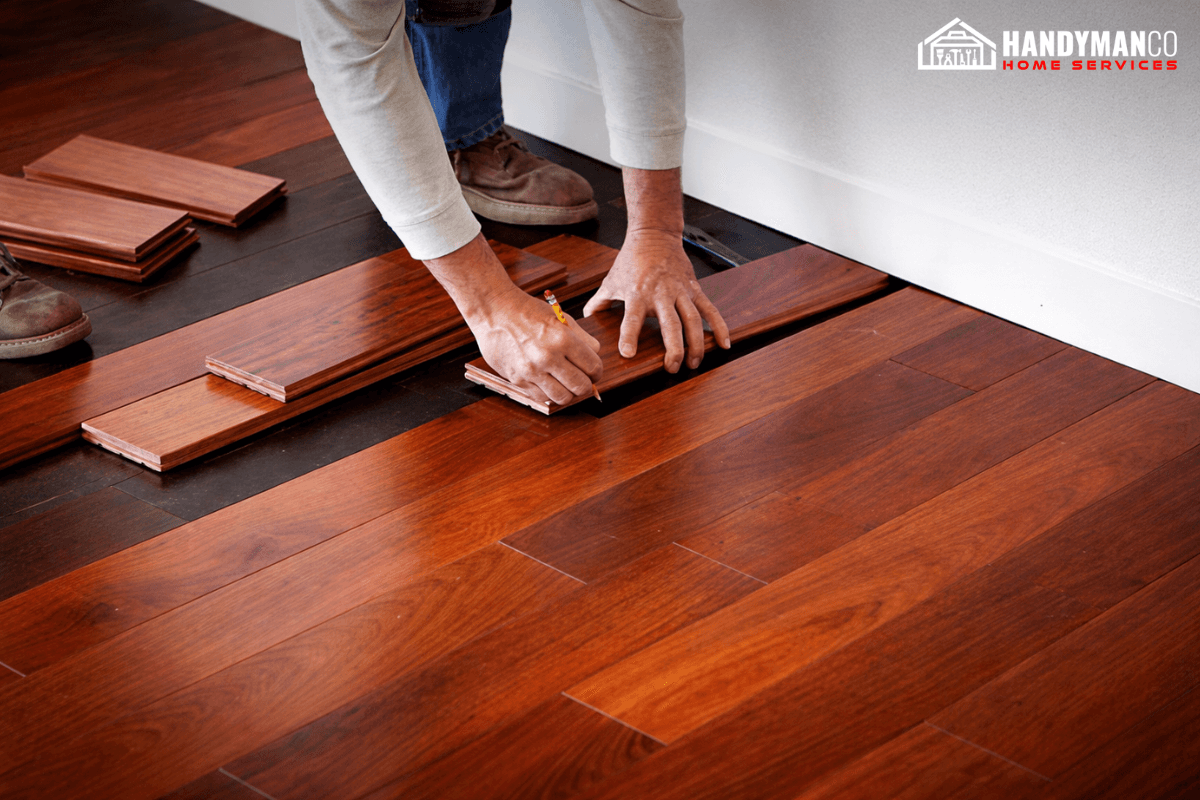
Hardwood
Minor high spots: Plane or sand high spots, then refinish as needed.
Loose or squeaky boards: Refasten to joists with trim screws or flooring screws. Hide holes with wood putty.
Subfloor issues: Add a plywood overlay to stiffen and flatten, or repair the damaged subfloor first.
Joist problems: Sister sagging joists, add shims where appropriate, or use structural jacking with care.
Severely warped boards: Replace individual boards and blend the finish.
Laminate
Loose or lifted planks: Lift the affected section, clean, and reinstall with tight joints. Use a pull bar and tapping block.
Underlayment faults: Replace creased or torn underlayment. A flat, firm underlay makes a world of difference.
Minor dips: Strategic shimming beneath the subfloor layer can stabilize localized low spots.
Adhesive stabilization: Specialized laminate repair adhesives can reduce flexing in small areas.
Major subfloor problems: Remove planks, correct the subfloor, then reinstall. Laminate cannot be sanded, so do not try.
Vinyl and LVP
Hollow or soft spots: Inject low-expansion adhesive or filler under planks to support voids.
Bubbling or loose areas: Clean, re-adhere, and roll. Light heat helps vinyl relax during re-bonding.
Tears or damage: Patch with matching vinyl or a repair kit. If the subfloor is uneven, correct it first.
Tile and Stone
Slight lippage: Sometimes regrouting or filling can hide tiny transitions, but manage expectations.
Loose or hollow tiles: Carefully remove, prepare the substrate, reset, and regrout.
Subfloor out of plane: Remove affected tiles, level the substrate with a cementitious self-leveling underlayment or a bonded mortar bed, then reinstall. Tile needs a very flat and very stable base.
Carpet
Ripples and bubbles: Re-stretch with a power stretcher and re-tack at the edges.
Localized bumps: Lift the carpet, fix the padding or replace it, then re-stretch.
Damaged spots: Patch or retuft if the surrounding carpet is in good condition.
Concrete Slabs
High spots: Grind with a concrete grinder.
Low spots: Use a self-leveling underlayment rated for your thickness, over properly primed concrete.
Slab movement or voids: Consider slab jacking, foam injection, or structural underpinning after a professional assessment.
Pro Tip: Never install rigid finishes like tile or hardwood over an out-of-level or flexible base. Fix the base first, or you will be paying twice.
How Pros Level Floors That Last
Licensed contractors use a mix of methods based on what the house is telling them.
Self-leveling underlayment (SLU). A flowable, cement-based material that fills low areas and cures into a flat base. Requires surface prep, primer, the right water ratio, and air release with a spiked roller.
Sanding and grinding. Plane down high seams in wood. Grind high spots in concrete.
Patching compounds. Repair cracks or shallow voids without pouring a full SLU layer.
Shimming and sistering. Bring sagging joists back to plane, then lock in the correction with fasteners and adhesive.
Plywood or OSB overlays. Create a new, flat, rigid subfloor when the old one is uneven but sound.
Foundation stabilization. If settlement is ongoing, piers, underpinning, or soil correction may be required before any interior leveling makes sense.
Tools You Will See On A Pro Job: Laser levels, long straightedges, high torque mixers, gauging rakes, spiked rollers, grinders with dust extraction, and a lot of patience.
Second Floor Slopes Need A Different Mindset
Upper floors ride on framing, not on the slab. Slopes here often trace back to joists, beams, or load paths rather than the foundation.
What Usually Works:
Mapping the slope with a laser, then sistering the low joists to bring everything into plane
Shimming to fine-tune after sistering
Planing high edges of subfloor panels
Installing a new plywood overlay to create a flat, rigid deck
Using SLU sparingly and only within manufacturer's thickness limits for wood substrates
When To Pause And Call A Structural Pro: If you see major joist rot, insect damage, notched or cut joists, or load-bearing walls that have been altered during a past renovation.
DIY or Pro Fix?
Some repairs are realistic for a careful DIYer. Others are not.
DIY Friendly:
Mapping and measuring high and low spots
Small patch leveling or skim filling
Re-securing loose boards or planks
Re-stretching carpet and replacing padding
Small underlayment repairs in a confined area
Hire A Pro:
Any structural repair to joists or beams
Large applications of self-leveling underlayment
Ongoing moisture problems or mold
Foundation settlement or slab movement
Widespread subfloor replacement or multi-room leveling
Bad DIY leveling can trap moisture, add weight in the wrong places, and make tile or hardwood fail. If in doubt, ask for an assessment before you buy materials.
What It Costs To Fix Uneven Flooring
This varies with severity, area, and method, but here is a practical way to think about it:
DIY Materials
Self-leveling compound: Roughly $20–50 per bag, depending on brand and coverage. Primers, patch compounds, and mixing tools add to the tally.
Small rooms with minor dips may come in under a few hundred dollars in materials.
Professional Work
Many leveling projects fall in the range of $3–5 per square foot for surface corrections.
A 200–300 square foot room often lands between $500 and $2,000 depending on prep and depth.
Structural framing repairs, slab jacking, or underpinning can add significantly and are quoted after inspection.
Cost Drivers: Depth of fill, number of rooms, substrate condition, moisture remediation, access, and finishing material requirements.
The right fix is always cheaper than redoing a failed floor later.
Temporary Workarounds If You Cannot Fix It Yet
Stabilize wobbly furniture with levelers or shims
Use area rugs and runners to reduce trip risks
Lay a removable plywood panel for a safer walking surface in a small zone
Improve lighting in transition areas
Hold off on installing rigid new flooring until the floor is corrected
These are band aids, not cures, but they can improve safety while you plan the permanent fix.
Prevent Uneven Floors Before They Start
Handle Moisture First. Fix plumbing leaks, add drainage, ventilate crawl spaces, and use vapor barriers where required.
Prep The Subfloor Correctly. Replace damaged panels, screw down loose seams, and flatten before installing finishes.
Choose The Right Underlayment. Match material to the flooring type and manufacturer tolerances.
Respect Expansion Gaps. This prevents buckling and tenting in wood and laminate.
Use Pro Installers For Rigid Finishes. Tile and solid hardwood demand a very flat and stable base.
Inspect Regularly. Peek in basements and crawl spaces, especially after storms or plumbing work.
A little prevention keeps your floors flat and your projects predictable.
Frequently Asked Questions
Can uneven floors get worse over time?
Yes. Most uneven floors continue to shift as moisture, temperature, and structural movement persist. Minor dips can slowly turn into full slopes or sagging areas if the root cause – like a leaking pipe or settling foundation – isn’t fixed.
Do uneven floors always mean foundation problems?
Not always. Many uneven floors come from subfloor or joist issues rather than the foundation itself. However, if you see cracks in walls or ceilings along with the slope, a foundation inspection is smart.
Can new flooring be installed over an uneven surface?
Only if the unevenness is minor and the flooring type allows it (like carpet or vinyl). Rigid options like tile or hardwood will fail quickly unless the subfloor is leveled first.
How long does it take to level a floor professionally?
Small rooms can be done in a day or two, but larger or structural repairs may take several days depending on drying times, joist work, or foundation stabilization.
Need Help Fixing Uneven Floors Safely?
We’re licensed, insured, and back it with a 1-year guarantee.
Conclusion
Uneven flooring can start small – a dip here, a slope there – but it usually means something underneath needs attention. Sometimes it’s moisture warping the subfloor, sometimes it’s aging joists or a foundation that’s shifted over time.
The real mistake is leaving it long enough for those small changes to turn into safety risks or expensive structural repairs.
A quick inspection now often saves you far more down the road. Get a free online quote and our licensed team will handle everything – from assessing the cause to leveling and repairing your floors so they’re safe, solid, and built to last.


RemodelCo is the go-to remodeler in Salt Lake City for everything from basement finishes, kitchen remodels, bathroom remodels to small repairs. Reliable, responsive, and built on quality craftsmanship.
Join our team
Get A Free Quote
9480 S Union Square, Suite 203, Sandy, UT 84070
Services
Interior Services
Exterior Services
Real Estate Pros
Consulting
© Copyright
RemodelCo LLC All Rights Reserved.